I get a lot of questions at shows about how to take the shots I do. Often, people ask if it is one long exposure, or if my camera is really just that good. In this post, I’m going to give a brief overview of “getting the shot” with my specific style.
First, you plan the shot. I use resources like maps, star charts, moon phase calendars, and weather apps. This helps me plan what landscape features I can get in the shot. This also helps me figure out if it will be dark enough to see what I want to capture.
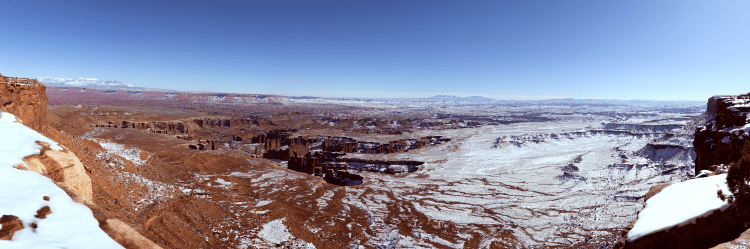
Once on location, I scout out what I want to aim at. I try to do this before it gets dark, so I can plan out the picture. Sometimes this is a multiple day event, as the conditions after dark may not be what I was hoping for. It also can happen that I simply didn’t get what I wanted in the picture. I have come back to the same spot the next night, or even as much as months later.
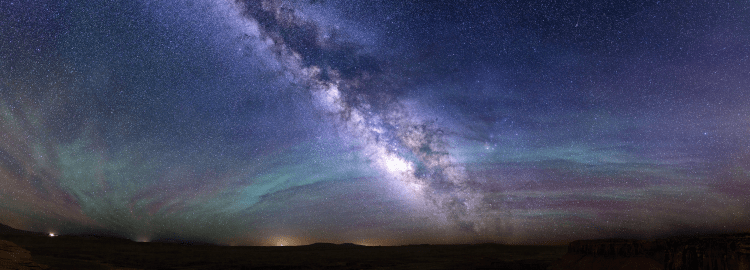
I took this on a hike, and realized how amazing this vista would be as a milk way shot. However, it was February, and I wasn’t going to be able to capture what I wanted to. This is in July. You can see the same outlines of the same features in this shot as the horizon of the shot above. This shot wouldn’t be possible in February, because the alignment of the milky way wouldn’t be correct.
Then, of course, the picture. Set up my tripod, figure out the bottom corners and top corners of the picture, and start shooting. I like to use a mosaic style for my photography, meaning I do multiple rows of panoramic shots. This allows me to shoot at a higher ISO, which is noisier. Because I am putting so many pictures together, the noise disappears in the overall shot.
After this, it is back home to process the pictures into one cohesive whole! I plan to do a few videos on this later to show my process. Till next time!
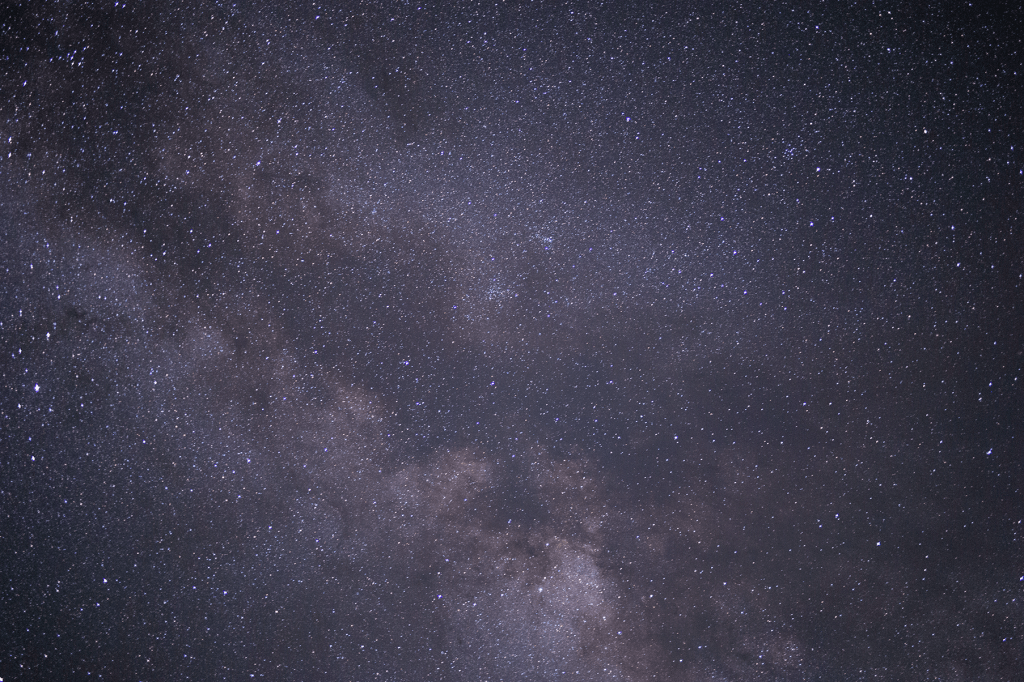
One of the raw shots from the galactic core. This was one of 31 pictures which made it into the final shot.
For as long as I can remember, I have loved to take pictures. I think my first camera that actually belonged to me was a film camera I won in some online “contest” back in the last 90s. It wasn’t much of a camera, just a little off-gold color paint on the front with a flash, retractable lens cover, and… I think that’s about it! I took that little camera with me everywhere. I remember biking out to Utah Lake and watching a massive storm rolling in, and trying to capture the moment on film. I brought it with me to hang out with friends, on camping trips, and wherever I could go to take pictures. A few years later my parents got me a much nicer camera with a small optical zoom, and a few more features. This was a huge upgrade over what I had been shooting with, and I kept taking picture after picture with it, always excited to see them when they were developed at my local photo store. None of my pictures were really any good, and few of them have survived the years since. Fast forward to a decade or so later, and several other cameras, and my 30th birthday present to myself was a real SLR camera with removable lenses, a good ol Rebel T5 (with that Rebel squeak with every shot!). This began my true foray into astrophotography.
This was one of my first ever attempts at astrophotography. I knew literally nothing except to point the camera at the sky, and keep the shutter open longer than normal. I had tried various other shots at night, but this is the first time I really tried to capture the stars. I was so excited that you could kinda see blurry shapes, and even could tell there was a galaxy in there. The quality of this shot didn’t dissuade me at all, in fact, I was absolutely thrilled! I had taken a picture of the STARS! It even looked kinda like what I saw when I looked at the sky.
Over the next few weeks, I learned more about using a timer to reduce shake, and how to focus better on the stars. Every shot I took, every small bit of improvement I had, made me more excited to capture the night sky.
Almost a decade later, I have mixed emotions looking at these pictures. I also remember how hard it was, no matter how excited I was, when I saw other people’s pictures out there, and mine were nowhere close to measuring up. I knew nothing about processing, next to nothing about composing a shot, and had very limited equipment. However, I kept going. It took me YEARS to get to a point where I could look at my work with anything but dissatisfaction, but get there I did. Now, I am so excited to be to the point I am, but still see all of the little things I want to improve in my work, I see the places where there could be more clarity, where maybe my pictures don’t quite line up with reality, where I couldn’t quite get the color balance right in post processing, and see places I want to go back to and re-take the pictures again and again until I get it to the perfection I want it to be. However, now I look forward with unbridled excitement. I can finally start to feel like I have some modicum of skill at this, and I have now met dozens of people who absolutely love my work. I finally feel like I am taking that step from amateur to professional.
Till next time! I plan to continue the story of how I got to where I am, mixed with tips and pointers about how to improve your photography skills. I by no means see myself as perfect, or even close… but I can finally recognize that I do, indeed, have skill at this type of photography.
Welcome to my site! I plan to expand this greatly over the next several years, and am excited for this venture in my life! Leave a comment below with any suggestions or general feedback on the site. I would also love to hear about something you have worked for years on, and what kinds of struggles you have had.